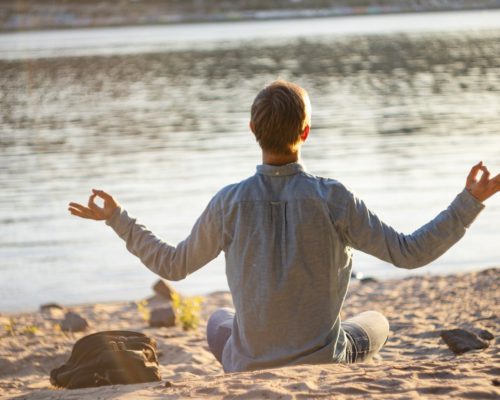
For many of us, the ongoing pandemic has taken a serious toll on our health and fitness habits. Not being able to go to the gym or take a leisurely walk in the park has left the bulk of us with only one resort: home. And for those of us who work primarily from home, we are all too familiar with the physical consequences of desk work. One of the most common causes of neck and back pain is working at a desk. Those who experience neck and back pain often report that their discomfort has spread to their shoulders as well. Hunching over a computer for 8 hours a day, coupled by outdoor and exercise limitations, can be a serious recipe for disaster. Now, for some good news: neck pain is avoidable, treatable, and manageable! Performing neck-oriented stretches even once a day can speed up your spinal recovery. We’ll be going over a few yoga poses and stretches that can relieve neck and shoulder pain. By lengthening and stretching the key muscles attached to your cervical spine, you can reduce pain and tension, as well as prevent chronic pain down the line.
Cat/Cow Pose
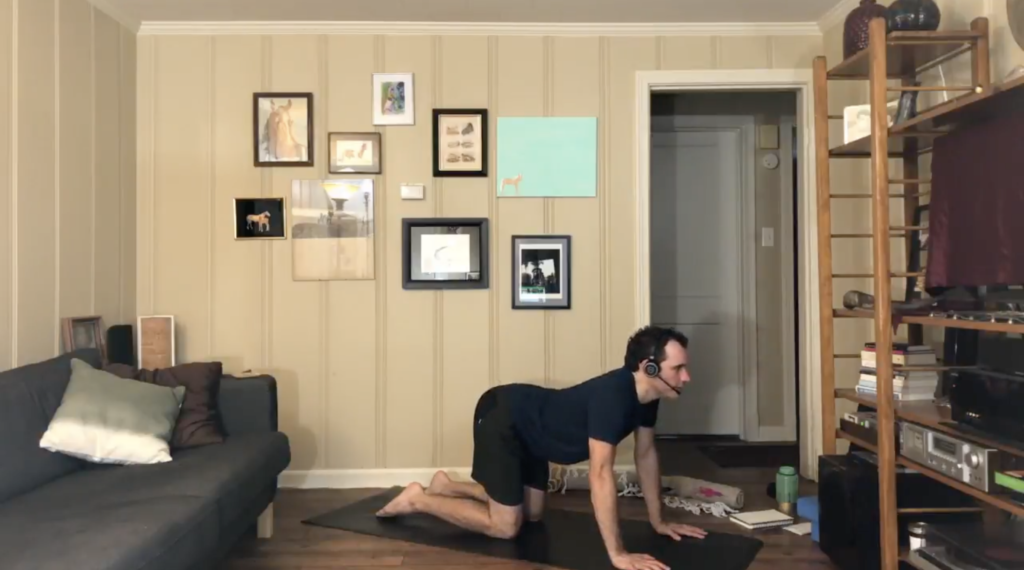
Cow Pose demonstration 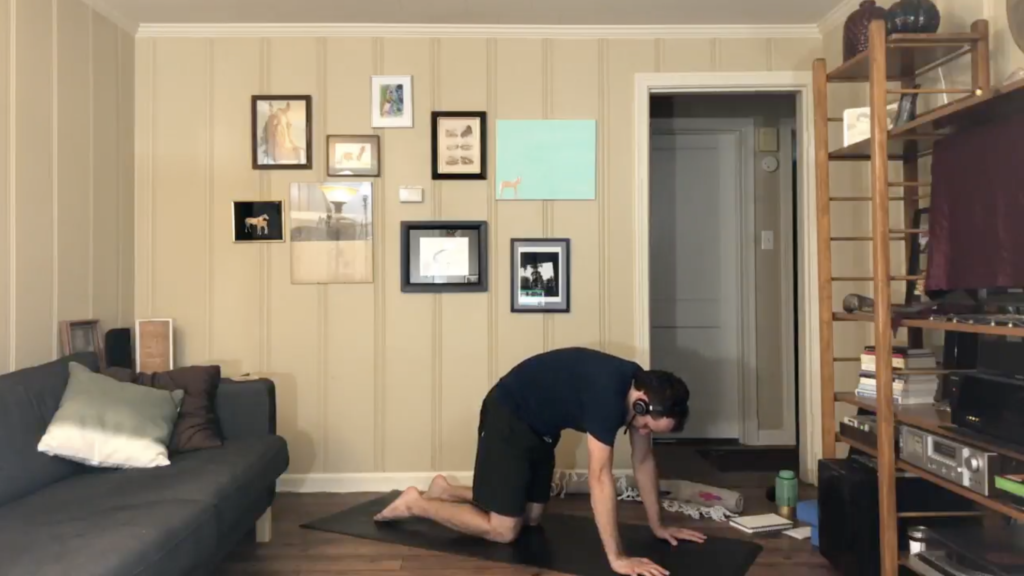
Cat Pose demonstration
This pose comes chock-full with benefits: it promotes good posture and digestive health, to name a few! Today we’ll be applying Cat/Cow Pose for its spinal benefits; not only does this pose strengthen and stretch the spine, it also reduces existing tension in the neck and upper back.
- Come down to your mat and enter Tabletop Pose. Allow your head to rest in a neutral position as you direct your eye gaze to the ground.
- Initiate Cow Pose by protruding your belly towards the ground, which will in turn require you to arch your back. Lift your chin up as you turn your gaze towards the direction of the ceiling.
- To transition into Cat pose from Cow, let out a deep exhalation as you arch your back in the opposite direction towards the ceiling. Draw your belly in as though you’ve taken a punch to the gut. Your head should now be facing the ground. Try to tuck your chin in towards your chest. If you feel any tension or discomfort, slowly release into a neutral Tabletop position.
- As you inhale, return to Cow Pose. On your next exhalation, revert back to Cat Pose. You can commit to this for a few sets, or try out a different pose!
Cow Face Pose
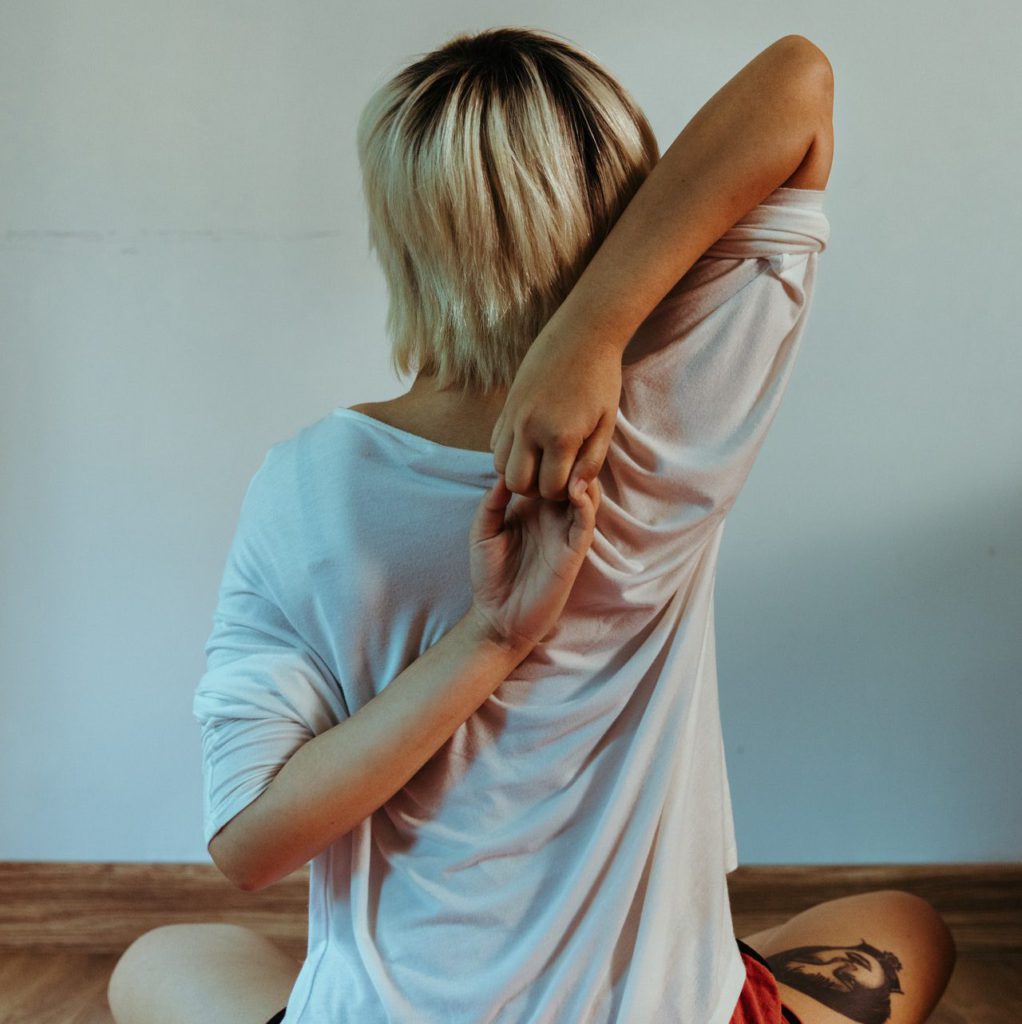
This is an excellent pose to target shoulder tension and/or pain. Apart from a sweet shoulder stretch, Cow Face Pose also stretches the hips, chest, and arms!
- Begin by coming down to your mat and into Half Lotus pose. From here, stack your left knee over your right knee. Your left foot can be placed next to your right hip.
- Straighten your left arm, and raise it up towards the ceiling. Bend your left elbow so that your left hand can make contact with the back of your head. Try sliding your left hand lower down towards your back. The goal is to have your left hand positioned towards the midline of your back, in the general region between your shoulder blades. You can use your right hand to position your left hand into place.
- With your left hand now resting between your shoulder blades, straighten out your right arm and extend it in the direction of the right side of the room. As you bend your right elbow, bring your right hand back behind you and slide it up towards the center of your back. Your left palm should be facing your back, while your right palm will be facing away from your back (i.e., it will be the backside of your right hand that is making contact with your back).
- You may have to adjust your form a little until your left and right fingers are able to make contact. From here, clasp your fingers together. Your head may have the tendency to tilt forward; try to keep it straight and aligned with the rest of your spine. It may help to press your head against your left elbow.
- Enjoy the stretch as you focus on your breathing. When you’re ready to release, unclasp your fingers and unstack your legs. Repeat this pose on the other side for a symmetrical stretch.
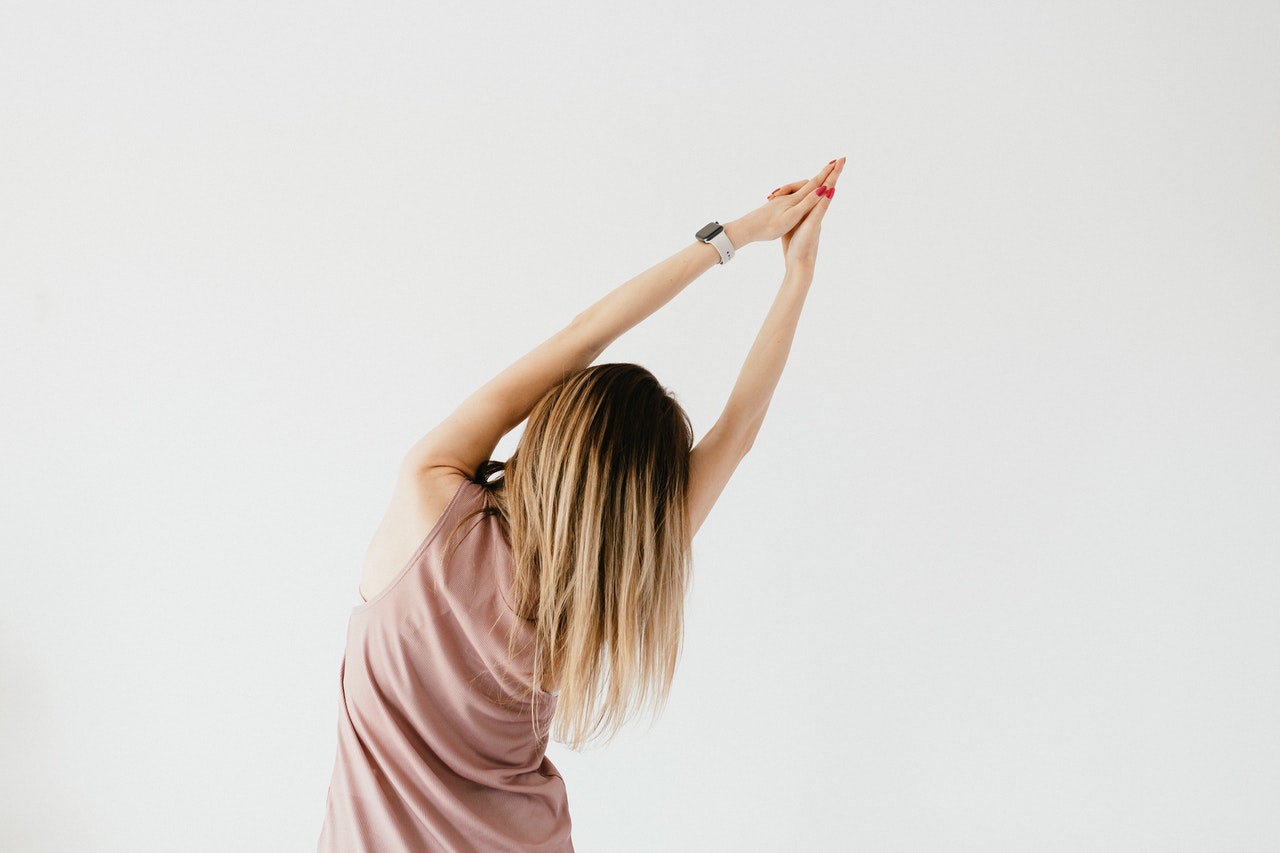
Standing Forward Bend Pose
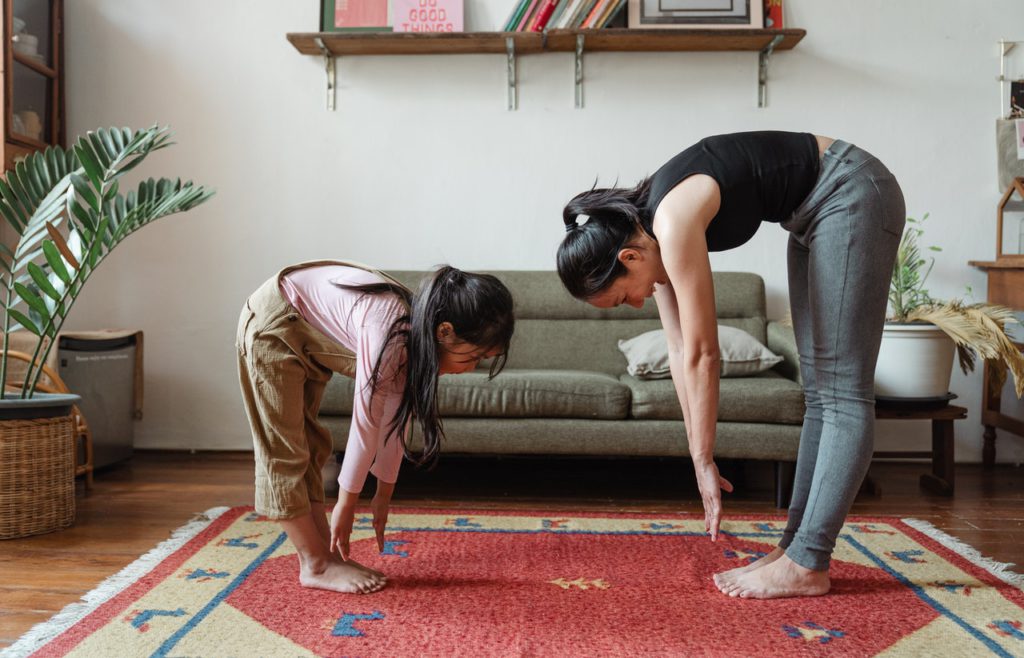
This pose is great for tension relief in the neck. By strengthening and stretching the spine, it can also be an effective preventative pose!
- Begin in Mountain Pose. As you exhale, bend your upper body forward, using your hip joints to do so.
- Allow your fingertips or palms to make contact with the ground. You can give your knees a slight bend to aid this step. Alternatively, you can grip your ankles or the back of your calves. You should feel a stretch in your hamstrings from here. If you don’t feel the stretch and your knees are bent, try straightening your legs to deepen the stretch. On the other hand, if your legs are straightened and you feel that the stretch is too intense, you can give your knees a slight bend.
- With each inhalation, try to lengthen your torso and angle your hips higher up towards the ceiling. As you exhale, give in further to the stretch and bring the crown of your head closer towards the mat. This polarizing bend should provide you with a nice spinal stretch.
- You can stay in this pose for a few breaths, or as long as you’re comfortable. When you’re ready to release, give your knees a slight bend and come back back up with a straight spine into Mountain Pose.
Thread the Needle Pose
This one is great for those dealing with both neck & shoulder pain! By targeting your neck, shoulders, and upper back, this pose will help you relieve tension in your problem areas. Additionally, Thread the Needle is an easy, accessible, and refreshing stretch that anyone can incorporate into their morning and/or night routine!
- Begin by coming down to your mat and into Tabletop Pose. With your right arm straightened, lift it up towards the ceiling and follow it with your gaze. Then, slowly bring your right arm down and “thread” it under your left arm.
- With your straightened right arm now flat on the mat, your right shoulder may also rest on the mat. Keep your hips high and upright throughout the pose, ensuring that they do not sink lower to the mat.
- Your head should also rest on the mat, with your neck turned to your left so that your gaze remains on your threaded right arm.
- Remain in this position for a few moments and bask in the stretch. When you’re ready to release, unthread your right arm and come back to Tabletop center. From here, you can repeat this pose on the opposite side.
Supine Spinal Twist Pose
This spinal twist provides a number of restorative benefits! It can relieve pain in the neck and upper back, and promote spinal mobility. The twist effectively lengthens the spine, making for a feel-good stretch while simultaneously boosting spinal health.
- Come down to your mat and lie on your back. While keeping the soles of your feet planted on the mat, bend both knees.
- Slowly bring your right knee up and hug it towards your chest as you straighten your left leg out. On your next exhalation, cross your right knee over to the left side of your body, all while maintaining the bend in the crossed knee. At this point, your hips will be stacked.
- Straighten your arms out on either side so that your upper body forms a T-shape. Splaying your arms out in this T-shape will help ensure that your right shoulder remains flat on the mat throughout this pose. You may also tuck your right foot into the crook of your left knee if you find this comfortable.
- With your right leg crossed over onto the left side of your body, you have the option of turning your head to the right. This will deepen the twist and further engage your neck and body, but this step is entirely optional as it may be uncomfortable for some.
- Hold this pose for a few breaths. Then, when you’re ready to release, you may uncross your right knee and begin to straighten it out. Try this pose on the other side, with your left knee crossing over onto the right side of your body.
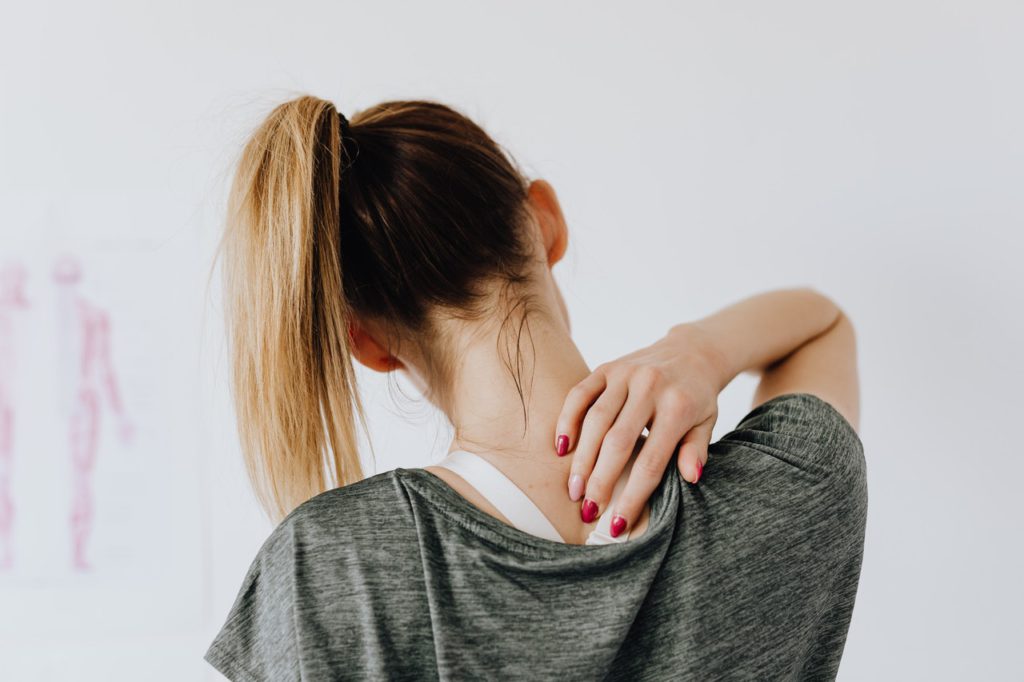
It’s important to note that there are different types and causes of neck pain; these factors often dictate the types of treatments which may be most effective. We urge anyone dealing with chronic neck pain to see their primary physician to gain a better understanding of their condition. Your doctor may give you the green light to employ these yoga poses for pain relief; alternatively, your doctor may provide a different course of treatment that may be better suited to your individualized case. Yoga can be an extremely effective and healthy physical therapy method, but safety should always be a top priority! For those that wish to find relief through yoga, we ask that you always be mindful of your body and its limitations. You can and should skip any pose that you’re not comfortable with, particularly if it causes pain or discomfort.
For more on relieving neck and shoulder issues, we recommend checking out our MixPose targeted class schedule or try a personalized session with one of our instructors!