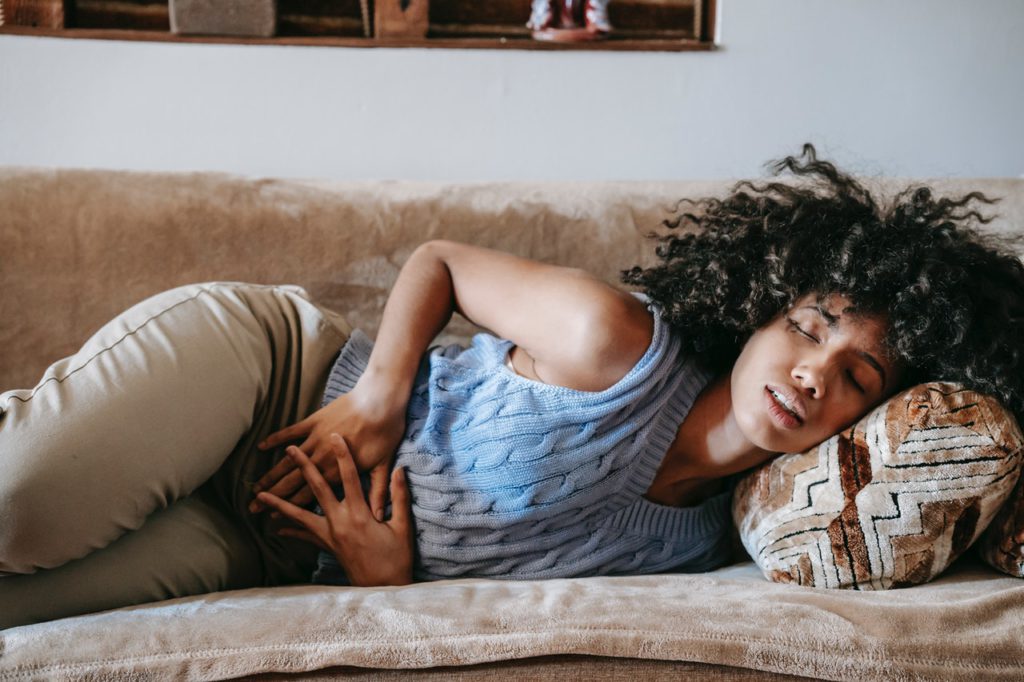
Every month, the female body prepares for pregnancy. When this biological wish for new life is not granted, menstruation, also referred to as a period, will occur. While this is a natural cycle that most women will experience every month for about 40 consecutive years, nothing feels natural about menstrual cramps. Researchers assert that a whopping 50% of women suffer pain and cramps while on their period. What’s more astonishing: 1 in every 10 women experience severe menstrual pain to the point of physical debilitation, rendering them out of commission for at least a few days until the symptoms gradually pass. Some women are unable to walk or perform routine tasks, and others have even compared menstrual pain to that of childbirth contractions. And of course, abdominal cramping is only one symptom associated with menstruation. Other commonly-endured menstrual symptoms include:
- Headaches
- Fatigue
- Digestive and bowel issues (e.g, constipation, diarrhea)
- Severe mood swings and irritability
- Lower back pain
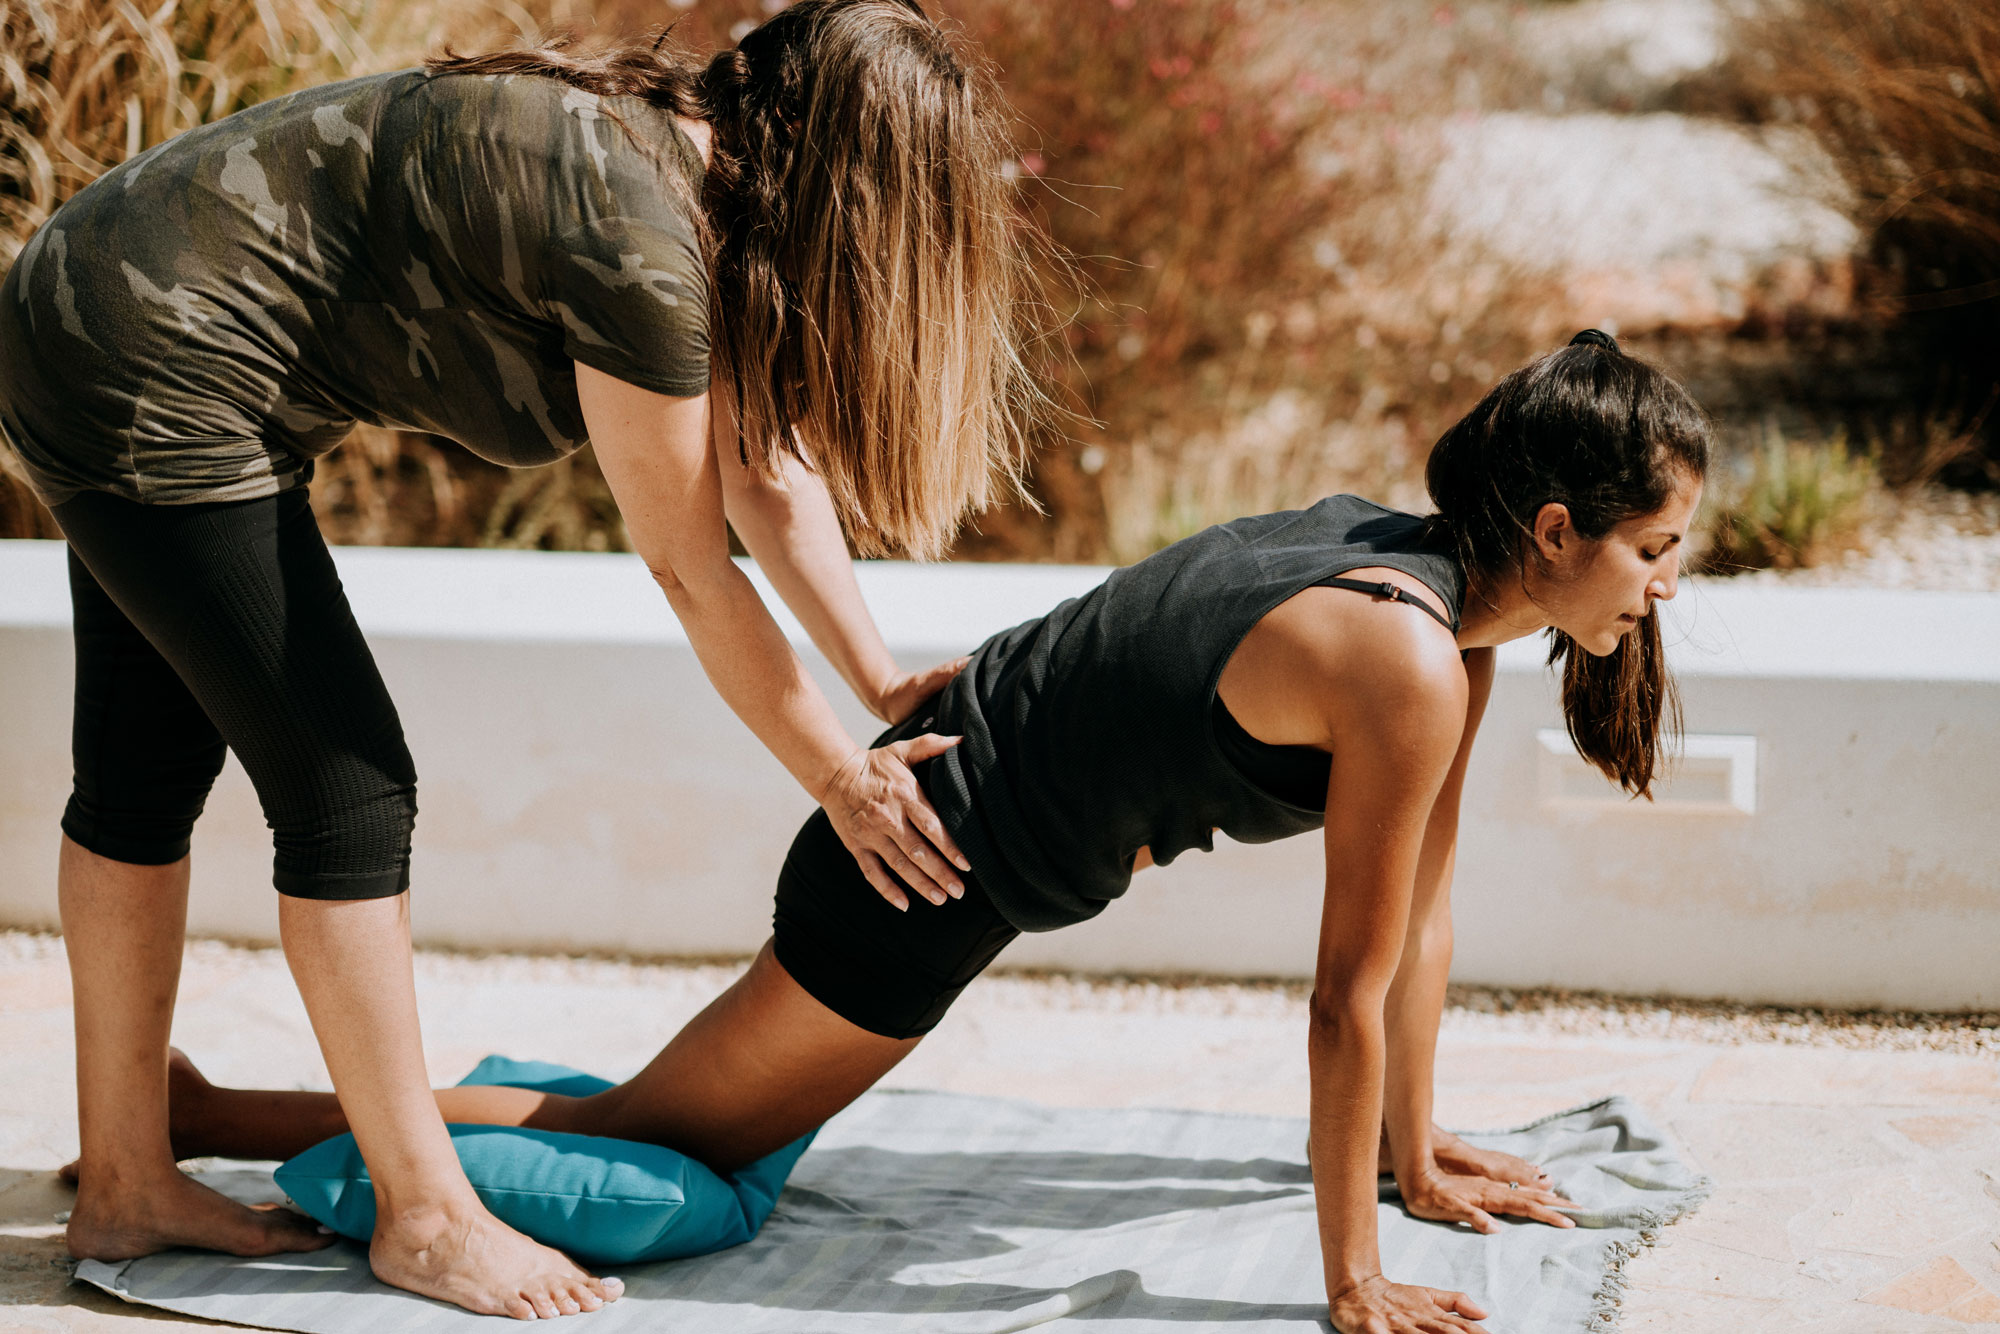
Needless to say, enduring one’s period is far from a walk in the park. For many women, this monthly experience is painful, exhausting, and overwhelming. It can also feel extremely hopeless when common remedies like ibuprofen and heat pads are unable to provide relief. That’s where yoga can play a life-changing role: practicing “period yoga”, as many call it, can be extremely effective in combating various symptoms associated with menstruation. Yoga can alleviate abdominal cramps, headaches, and even bowel irregularities. We’ve curated a few yoga poses that can provide some serious relief on a bad period day. Redefine your period experience and give your menstrual cramps the boot with these simple yoga poses!
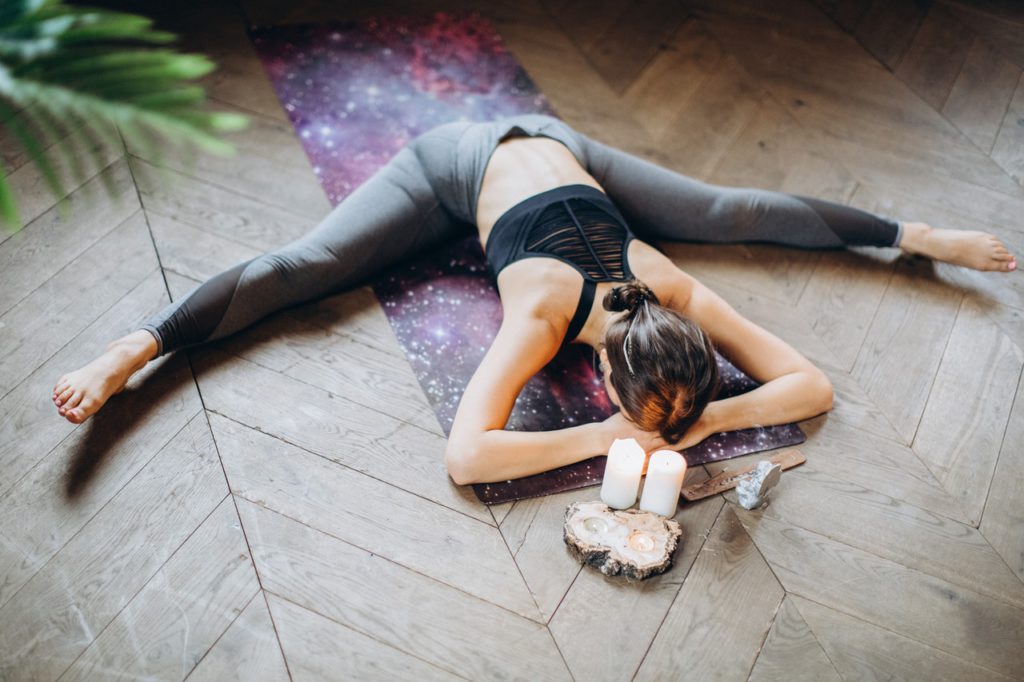
Reclined Bound Angle Pose (aka Reclined Goddess Pose)
Pose benefits:
- stimulates and soothes the abdominal organs, which can help with digestive and bowel issues that occur with menstruation
- stretches and opens the hips and groin muscles
- relieves anxiety, fatigue, and headaches
- reduces menstrual cramps
Pose instructions:
- Begin by lying on your back with knees bent. Allow your knees to splay outward on either side so that you can bring the soles of your feet together.
- If you’d like, you may place a pillow under each knee for support. The pillows can serve as comfortability props, but are also helpful if you feel too much strain in the groin area or hips. By elevating the knees slightly, pillows can help alleviate any tension or tightness you may be experiencing in this pose.
- You may either rest your hands on your stomach or at your sides. Alternatively, you may also stretch your arms out to form a T-shape. You may remain in this position for several minutes and continue to feel the stretch deepen. Try to keep your eyes closed and take deep breaths throughout this pose.
- When you’re ready to release, slowly lift your knees back up and join them together. Roll over onto one side and carefully prop yourself up into an upright position.
Pigeon Pose
Pose benefits:
- Alleviates any existing pressure and/or tension stored in the lower back
- Increases flexibility within hip flexors and lower back muscles
- Reduces stress and anxiety levels
- Stimulates the abdominal organs
- Reduces menstrual cramps
Pose instructions:
- To begin, enter Downward-Facing Dog (this is often used as a transitional pose to enter Pigeon). Lift your right leg off the ground and extend it up and behind you (this stance is often referred to as Three-Legged Downward Dog, or Downward Dog Split).
- Bend your right leg and gradually bring it forward to your right hand. Rest your right knee down to the mat, positioning it at the outer edge of your right hand.
- Bring your left leg down to the mat and allow it to straighten out behind you. Your left foot should be pointed towards the back of the room, and your right knee should be towards the front.
- Take a moment here to make adjustments, and see that your hips are evenly squared with the top of the mat. Your right leg will play a big factor in the intensity of this pose. The farther you slide your right heel away from you and towards the direction of the top of the mat, the more intense the stretch will feel. For reference, seasoned Pigeon Pose yogis will likely be able to align their right shin parallel to the top border of the mat. Do not feel pressured to deepen the stretch if it feels uncomfortable, particularly if you are a beginner. Your hip flexors and muscles will need some time to adjust to this pose, and it is best to listen to your body in this instance.
- Try to distribute your weight evenly across both hips. If and when you feel comfortable, tiptoe your hands towards the top of the mat, subsequently bringing your torso down closer to the floor. If you’re able to, you may even bring your torso completely down to the mat so that your upper body can rest on your right leg. Your forehead may even be able to make contact with the floor. Take a few breaths here and continue to focus on the deepening stretch within your hips.
- When you are ready to release, walk your hands back to the sides of your hips. From here, you can re-enter Downward Dog and repeat this pose on the other side.
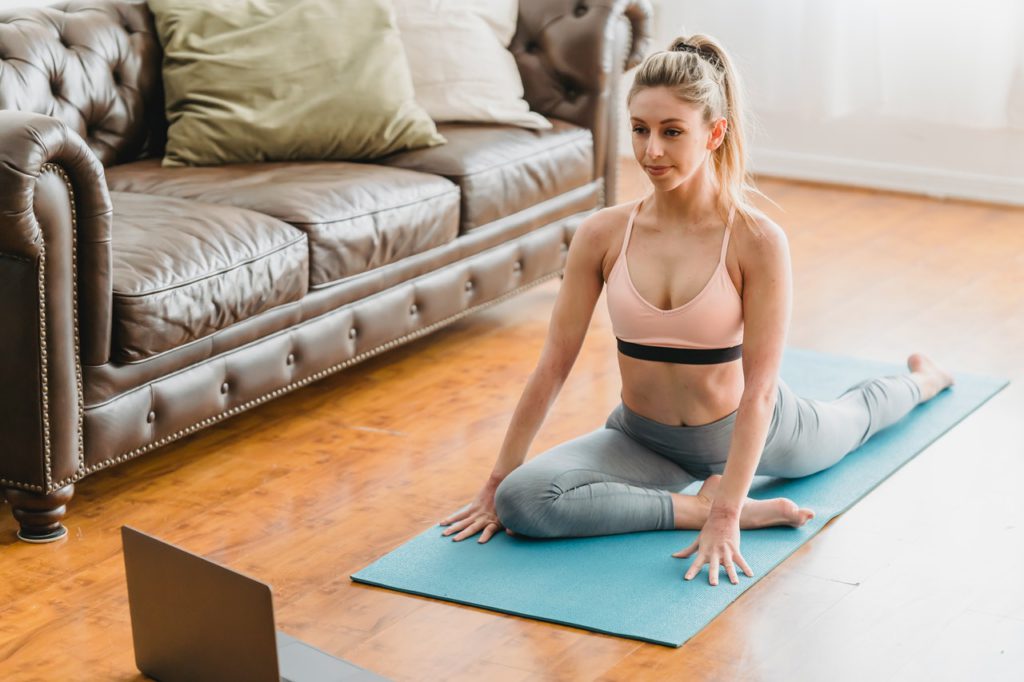
Wide-Angle Seated Forward Bend Pose
Pose benefits:
- Stimulates and tones the abdominal organs
- Can combat headaches and fatigue
- Reduces menstrual cramps
- Stretches the hamstrings, groin area, and spine
Pose instructions:
- Begin by coming down to your mat and seating yourself in a Half Lotus pose. From here, straighten your legs out and sprawl them out on either side. Your legs should have some distance between them, enough to create a rough 90 degree angle. Be mindful of your spine, and try to keep it straight and lengthened.
- Place your palms down in front of you, grounding them in the space between your legs. With your palms grounded, shift a bit of your weight onto them so that you can slowly slide your buttocks forward. By doing this, you will create a larger space between your legs.
- Slowly, walk your hands out further away from you. As you do this, your torso will gradually follow and bend forward towards the mat. If you feel comfortable, continue to walk your hands further out and deepen the stretch. Those who are extremely flexible may be able to lay their arms and upper body down flat on the mat.
- Remain in this pose for a few moments, continuing to breathe through the stretch. When you’re ready to release, slowly walk your hands back, using your chest to lift yourself back up.
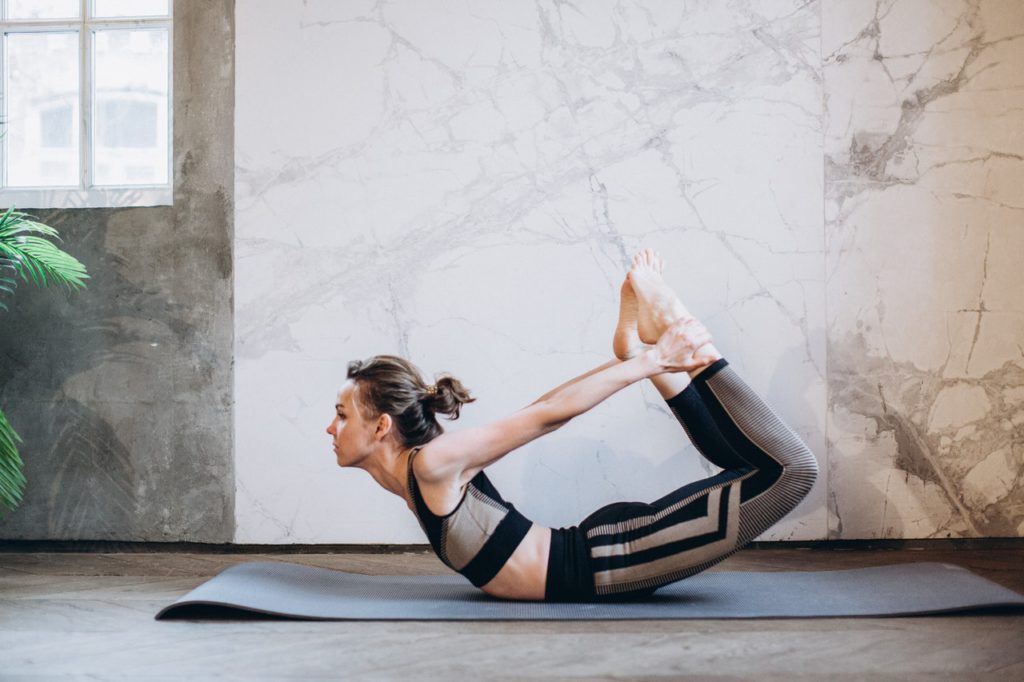
Bow Pose
Pose benefits:
- Improves circulation by engaging, stretching, and strengthening the entire body
- Reduces stress and fatigue
- Stimulates the abdominal and reproductive organs
- Boosts digestive health
- Relieves menstrual cramps and discomfort
Pose instructions:
- Begin by coming down to your mat and lying flat on your stomach, with your arms at your sides. Your legs should be straight and spread about hips-width apart.
- Bend your knees so that your feet are lifted off the mat and towards your buttocks. Bring your hands back and firmly grasp your outer ankles with your hands.
- When you’ve maintained a stable grip, try to lift your heels higher up towards the ceiling. This will allow your head and chest to rise up off the mat and begin to create a bow shape. Roll your shoulders back, imagining that your goal is for your shoulder blades to touch.
- Attempt to press your shins in the direction of the back of the room. This will lift your chest higher up and bring your thighs up further off the mat. As you continue attempting to push your shins further back, the rest of your body will follow, creating more height and curvature. Your knees may have a tendency to splay outwards, so do your best to maintain the same hips-width distance as you did at the beginning of the pose.
- You may hold this pose for 15-30 seconds, continuing to breathe evenly through the stretch. When you are ready to release, slowly bring your thighs down to make contact with the mat. From here, you can release your ankles from your grip and allow your whole body to lay flat on the mat.
It’s incredibly unfortunate that for so many women, periods are associated with feelings of pain and discomfort. What makes yoga such a viable holistic approach to menstrual symptoms is not only its capacity to reduce the severity of symptoms, but also the capacity to decrease the amount of occurrences and duration of symptoms. While practicing period yoga when you are on your period is extremely effective at curbing pain and discomfort, many yogis have found that practicing yoga consistently actually helps tremendously in reducing symptoms in the long run. We truly hope that these yoga poses will alleviate your menstrual symptoms and allow you to take back control of your body!