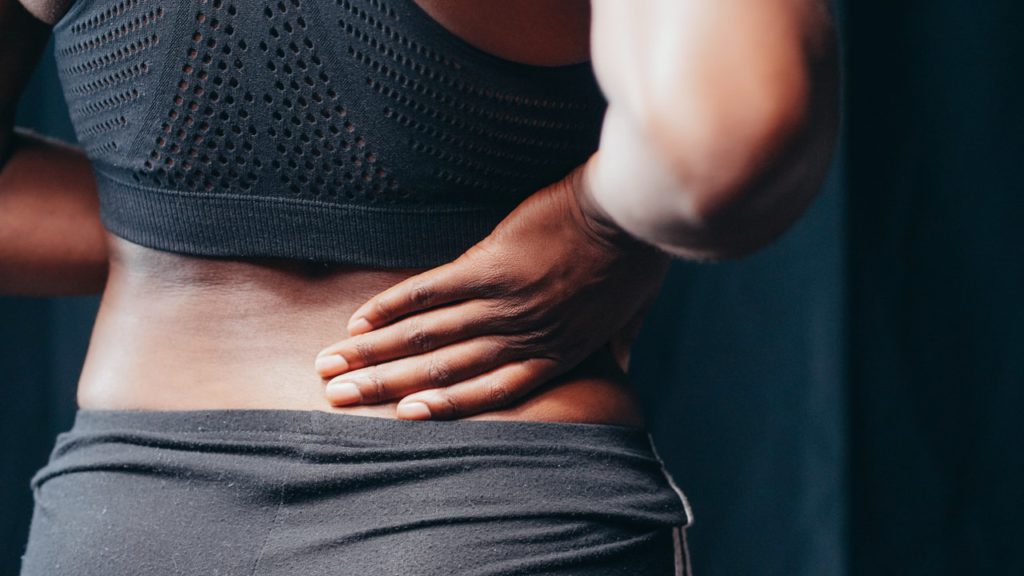
The average American adult spends 6.5 hours a day sitting. That average shoots up an additional two hours when surveying teenagers. While there is nothing inherently wrong with taking a seated position, doing so for an extended period of time can be incredibly damaging to our overall health and wellness. Research shows that a sedentary lifestyle places Americans at a higher risk for weight gain, diabetes, high blood pressure, and even heart disease. As if these health risks aren’t bad enough, the combination of poor posture and prolonged sitting also places us at risk for spine damage and chronic pain. Lower back pain belongs to the list of top 5 reasons that people visit the doctor. While causes of lumbar (aka lower back) pain vary, there is a substantial correlation between your thoracic spine and the development of lumbar pain. A tight and stiff thoracic spine is potentially responsible for the backaches, tight shoulders, and neck kinks that many of us experience. It’s not all bad news, though: narrowing down the source of your pain makes it that much easier to achieve relief!
A Quick Anatomy Lesson: Spine Edition
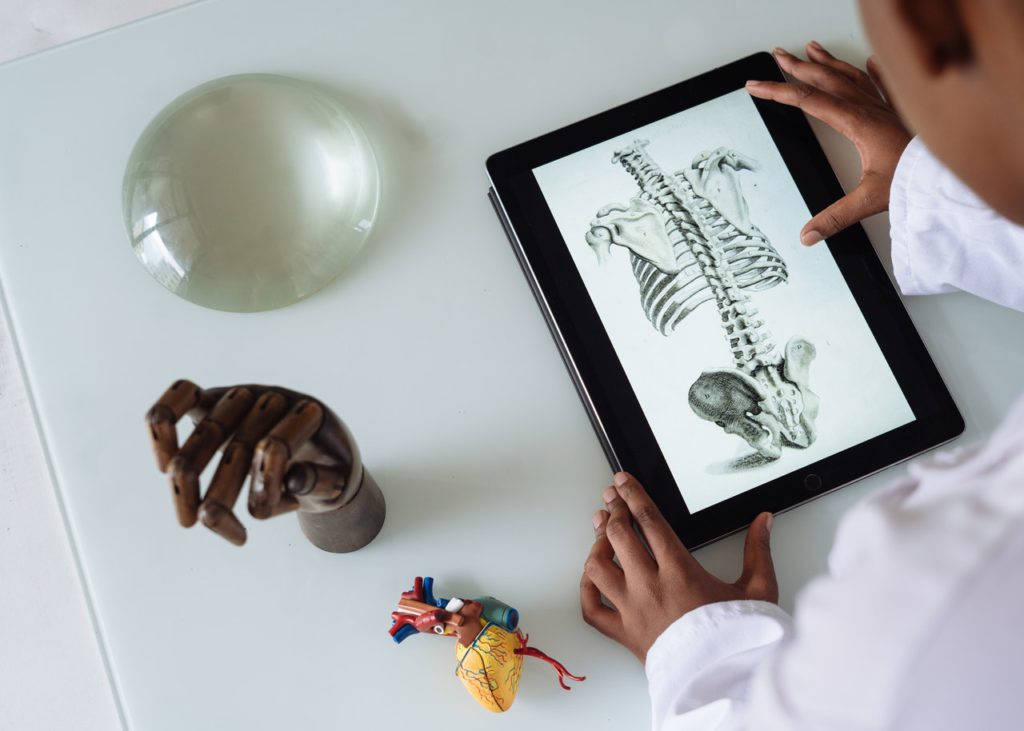
The human spine is made up of 24 vertebrae and divided into three regions. Starting at the top, we have the cervical spine, also known as the neck. Below that is the thoracic spine, sometimes referred to as the “upper back” or “middle back.” This is the largest region of the spine, consisting of 12 vertebrae and spanning from the base of the neck down to the abdomen. The third and final region, the lumbar spine, is commonly referred to as the lower back.
Primary thoracic movements include flexion (bending forward), extension (backbend), and rotation. Compared to the rest of the spine, the thoracic region has the greatest potential and capacity for rotation. The thoracic spine serves many important functions, including:
- Supporting the rib cage, a structure which protects many of our vital organs, including the heart and lungs
- Assisting in various body movements
- Protecting the spinal cord, the bundle of nerves that communicates information between your brain and body
- Assisting in stabilization and keeping your body upright
When the thoracic spine becomes immobile, twisting is forced upon our lumbar spine. Here’s the root of the lower back problem.

The Connection Between Your Thoracic Spine and Lower Back Pain
As we often mention, poor posture is something of an epidemic here in the U.S. When working at a desk for the majority of the day, many people will exhibit cervical and thoracic flexion (the motion of hunching forward). Our lumbar spine is prone to arching in this position, as well. We get it: the riveting impacts of spinal flexions aren’t usually at the forefront of everyone’s minds. But whether we choose to acknowledge it or not, practicing poor posture can truly impact every region of our spine. Consistent spinal flexion can easily lead to abnormal kyphosis, a spinal disorder that is characterized by excessive, forward rounding of the back. For some, kyphosis symptoms are limited to a “hunchback” appearance, but for others, it can cause severe pain and even lead to breathing problems. Other types of thoracic spinal disorders include scoliosis and osteoporosis, the latter of which is unfortunately associated with an increased risk for thoracic spinal fractures.
When the spine is constantly rounded and hunched in a seated position, the thoracic spine inevitably becomes stiff and immobile. Decreased mobility in the thoracic region spills over to the rest of our spine. When our backs are rounded, our neck and shoulders tend to do the same. Moreover, the lumbar spine is forced to bear a greater burden of stress and added weight. With a stiff thoracic spine, your cervical and lumbar regions essentially must overcompensate and make up for what your thoracic spine should be doing. This can result in both neck and lower back pain, both of which can be prevented by improving thoracic spinal mobility and maintaining proper posture when we can.
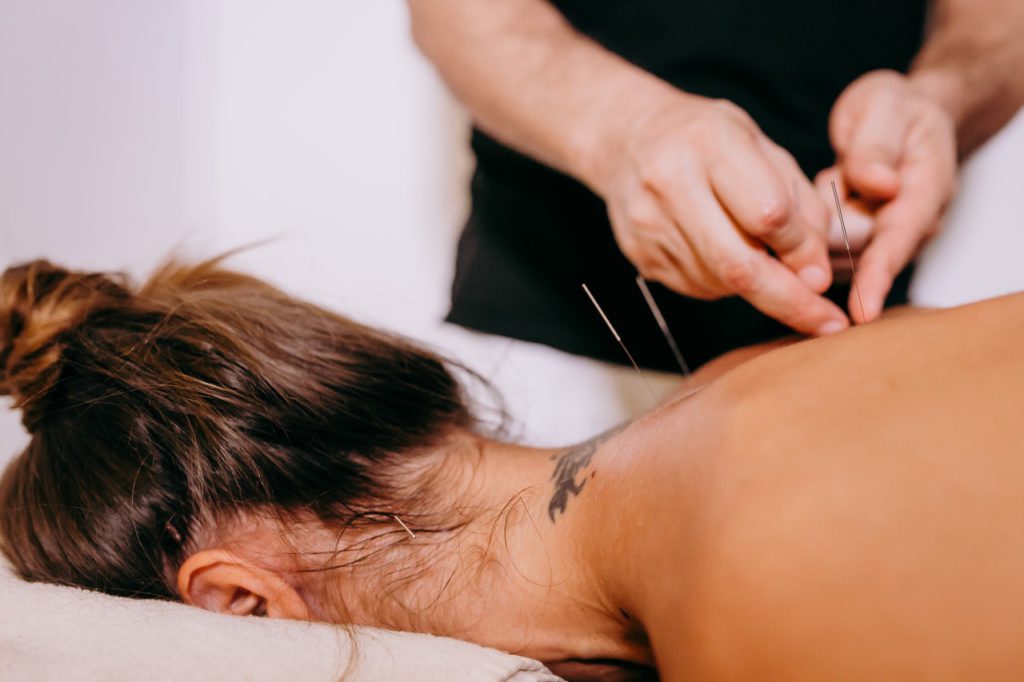
When we experience neck or lower back pain, a common solution is to target the issue directly. This can involve receiving acupuncture in those specific points or massaging the cervical and lumbar regions to undo kinks and knots. However, if your pain is the result of thoracic spinal movements and postural tendencies, this region should be targeted simultaneously. Without proper alignment and mobility in the thoracic spine, the pain in other areas of your spine will likely recur. Remember, a stiff and tight thoracic spine is an unhappy spine!
Why Mobility in Your Thoracic Spine Matters
You might be thinking: okay, so maybe my thoracic spine is the source of my lower back pain. What can I do to improve mobility in that area? Due to the thoracic spine serving as an attachment point for the rib cage, this part of your back doesn’t have a wide range of motion. This limited range of movement actually simplifies the types of exercises needed to improve thoracic mobility. Many of the targeted stretches are beginner-friendly while still being effective. By consistently practicing stretches and poses that improve thoracic mobility, you not only reduce back and neck pain, but also improve spinal alignment and posture.
Over time, our bodies become conditioned to certain functional habits. When the thoracic spine is not employed to its fullest potential, it becomes something of a “use it or lose it” conundrum. Specifically targeting the thoracic spine can retrain it to bear certain responsibilities and take much of the unwarranted weight off of your neck and lower back.
Yoga Poses for Thoracic Spinal Mobility
*while we mention the use of a mat throughout these instructions, you can absolutely use the floor as a stable platform! You can also place a blanket or pillow under your knees, hips, etc. (depending on the exercise) for optimal comfortability.
Cobra Rolls
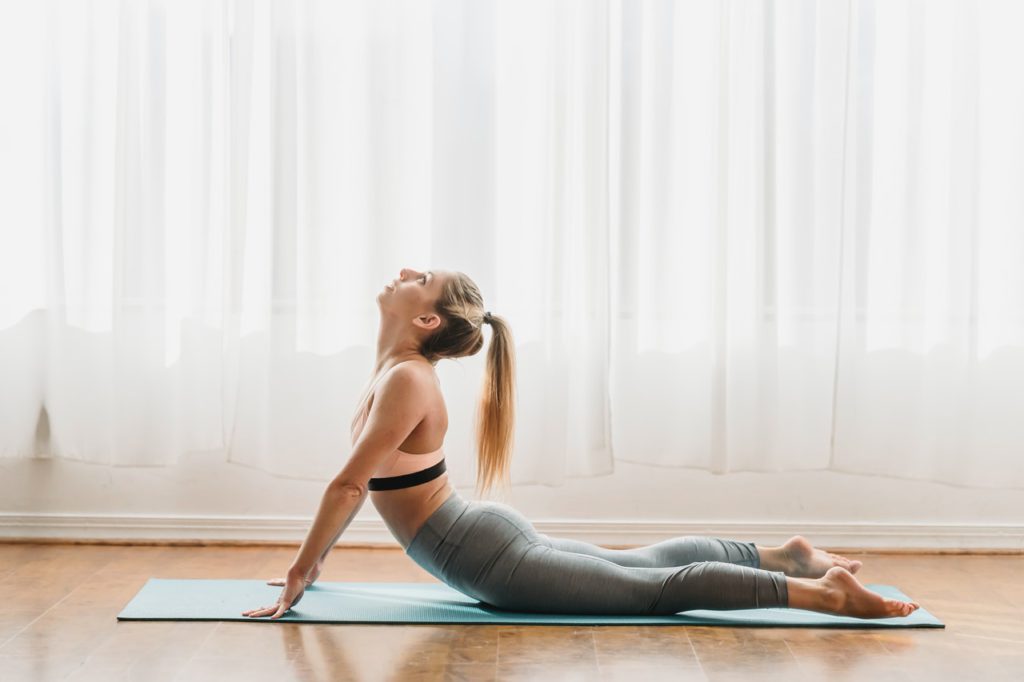
- Begin by coming down to your mat and laying flat on your stomach. Place your palms flat down on either side of your armpits, tucking your elbows closer to your sides.
- On your next inhalation, lift your chest off the mat. Initiate the movement from the middle of the back, not the arms. Articulate through each part of the spine.
- When the chest arrives at the highest level, roll up through the head until you are gazing up.
- Lower the chest while keeping the gaze up.
- When the chest arrives on the mat, lower the head towards the mat.
- Repeat these actions 5 to 10 times.
Thread-the-Needle Pose
- Begin by coming down to your mat and into Tabletop Pose. With your right arm straightened, lift it up towards the ceiling and follow it with your gaze. Then, slowly bring your right arm down and “thread” it under your left arm.
- With your straightened right arm now flat on the mat, your right shoulder may also rest on the mat. Keep your hips high and upright throughout the pose, ensuring that they do not sink lower to the mat.
- Your head should also be rested on the mat, with your neck turned to your left so that your gaze remains on your threaded right arm.
- Remain in this position for a few moments and bask in the stretch. When you’re ready to release, unthread your right arm and come back to Tabletop center. From here, you can repeat this pose on the opposite side.
Seated Side Bend
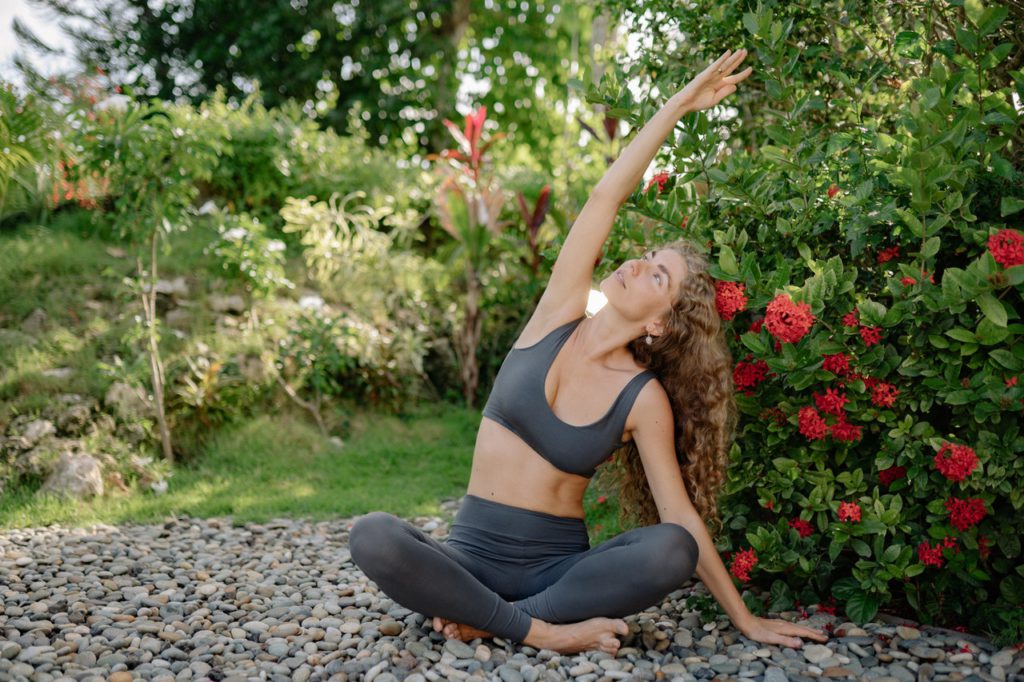
- Come down to your mat in a seated cross-legged pose. Place your left palm down at your side, just outside of your left hip.
- On your next inhalation, straighten your right arm out in the air as though you are attempting to touch the ceiling. On your next exhalation, slide your left palm further away from your body.
- Your right arm should be in close proximity to your head. From here, bend your torso and right arm towards the left side of the room. You’ll likely feel a nice stretch on the right side of your body. Try to fall deeper into the stretch with each exhalation.
- Remain in this position for 30 seconds or so. On your next inhalation, bring your torso upright and let your right arm fall to your side. Repeat this stretch on the left side of your body.
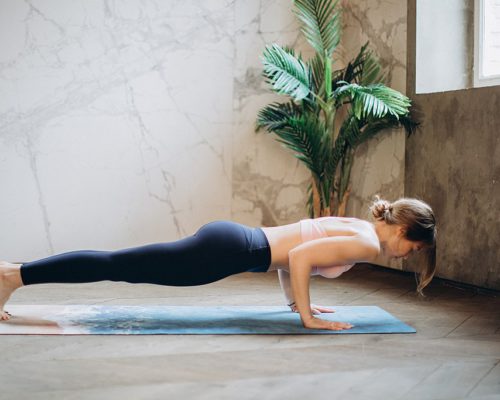
Locust Pose
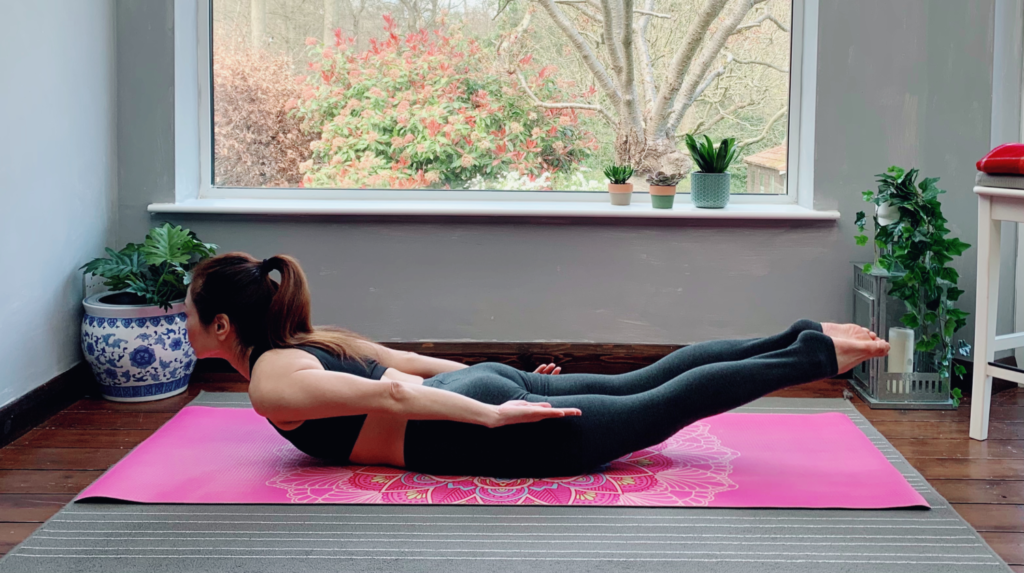
- Begin by coming down to your mat and lying on your belly, with your forehead resting on the mat. Place your arms by your sides, with palms planted on the floor. Your legs should be straightened out behind you.
- On your next inhalation, lift your chest, head, and arms off the mat. As your arms hover off the mat, be sure to keep them straightened. As you press the tops of your feet firmly into the mat, engage and tighten your leg muscles so that your knees may lift slightly off the mat.
- Find a focal point on the floor, preferably right in front of your line of vision. This will help you keep your neck in a neutral position so as not to strain it or cause any tightness.
- Remain in this pose for about 30 seconds if you can, focusing on your breath work throughout. Once you are ready to release, gently allow your body to come down and melt back into the mat. Turn your head to one side and rest on your cheek for a few moments. If you’re up for it, you may repeat this pose a few more times!
For those currently experiencing back pain or any serious physical conditions, please consult with your doctor before engaging in these exercises and stretches. While most of these poses are beginner-friendly, we all have individual limitations and boundaries that should be addressed and identified before trying new exercises for the first time.
For more on maintaining a healthy back, recommend checking out MixPose’s targeted class schedule or trying a personalized session with one of our instructors! Our daily yoga classes are led by skilled instructors, all of whom are qualified to help you modify yoga poses to appease any existing limitations or conditions you may have. We offer live classes that specifically target issues like back pain and neck pain to help streamline your needs!