Let’s talk about spinal health! It’s a topic that comes up quite often, as back pain is one of the most common types of chronic pain that adults experience. In fact, research studies conducted by the University of Carolina reveal that at least 80% of Americans will endure chronic back pain at some point in their lives. What can be done about this unceasing affliction, you might ask? Sometimes, tossing back a couple of aspirin or slabbing on an Icy Hot patch is enough to do the trick. Other times, these quick-fix remedies just don’t make the cut. In order to truly eliminate back pain, it’s important to consistently engage in activities that promote and maintain our spinal health. We understand that many people simply don’t have the time or resources to commit to physical activity on a daily basis. Unfortunately, leading a sedentary lifestyle likely won’t do your back much good. By practicing certain yoga poses that target and stretch the spinal region, we can relieve back pain and simultaneously boost our spinal health. Having a strong, lengthened, and flexible spine can reduce your risk of future injury, improve spinal mobility, and relieve your back of tension-buildup, all of which is essential to eliminating chronic back pain for good. What’s more: for the lucky bunch that haven’t yet endured back pain, consistently practicing back stretches can prevent the development of spinal issues and help ensure that you continue to be pain-free. With all of that being said, make your spinal health a top priority today and see what these stretches can do for you!
Cobra Pose
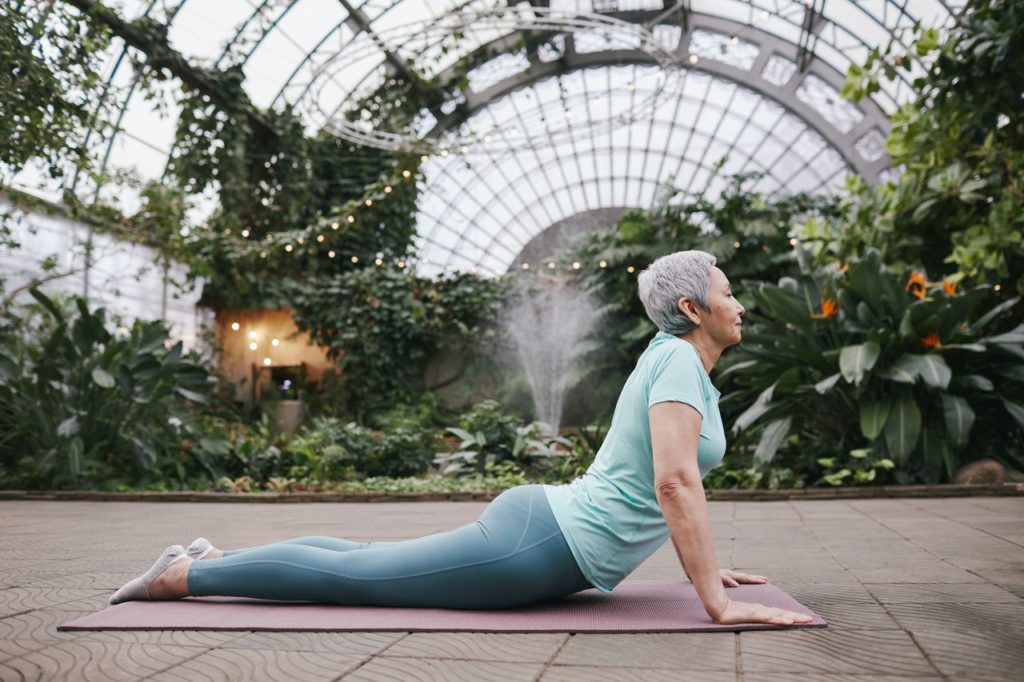
- Begin by coming down to your mat and laying flat on your stomach. Then, place your palms down flat on either side of your armpits and attempt to tuck your elbows closer to your sides.
- On your next inhalation, push off your palms and lift your chest off the mat. Make sure your elbows are still tucked at your sides, and that your shoulders are rolled back.
- From here, you can lift your chest further up off the mat to create a curved spinal arch. If attempting to lift your chest higher up causes any pain or physical distress, do not push yourself. Remain at a height at which you feel most comfortable.
- You may remain in this pose for up to 30 seconds before lowering yourself back down. You may then cycle through Cobra pose again, or move on to a different pose.
Extended Triangle Pose
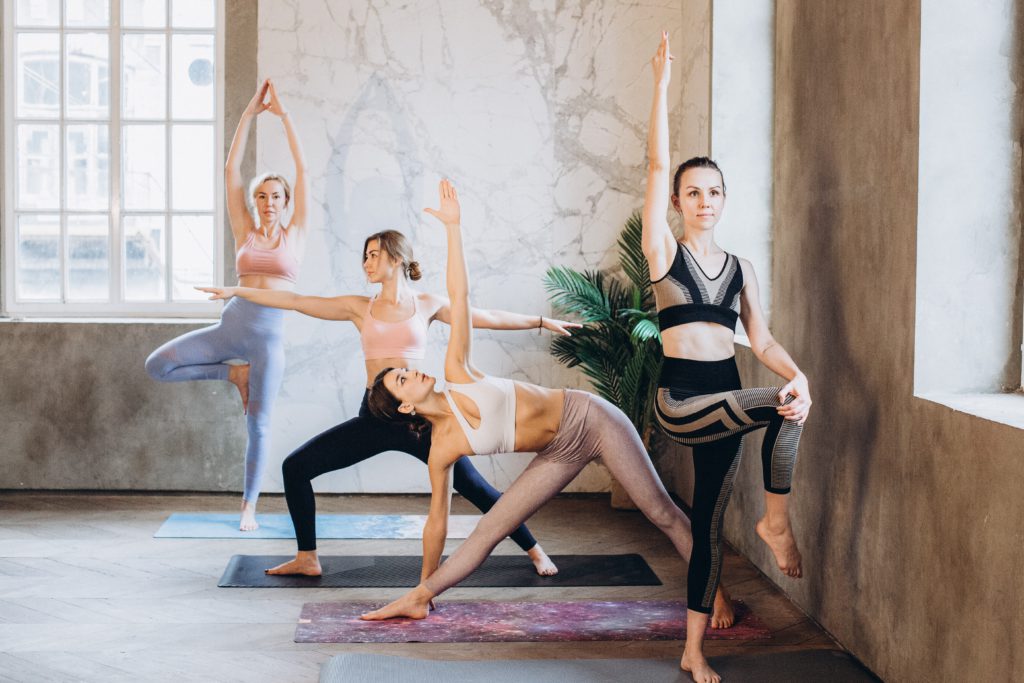
- To begin, enter Mountain Pose. On your next exhalation, separate your feet about 3-4 feet apart. Straighten and stretch both arms out on either side, with palms facing down towards the floor.
- At this point, both of your feet should be facing forward. You will now want to rotate your right foot about 90 degrees, where it should now be pointing towards the right side of the room. Then, engage and firm both thighs before rotating your right thigh outwards. Your left foot will remain pointed forward. Check to make sure that the heels of your feet are aligned, and adjust if needed.
- On your next exhalation, stretch your torso to the right. Reach down for the mat with your right hand, aiming for the spot behind your right foot. If your fingers are not able to make contact with the floor, you can grip your right ankle or calf instead.
- Raise your left arm up towards the ceiling, allowing your gaze to rest either on your left fingertips or the ceiling. Hold this pose for a few breaths. When you are ready to release, slowly come up and repeat this pose on your left side.
Downward-Facing Dog
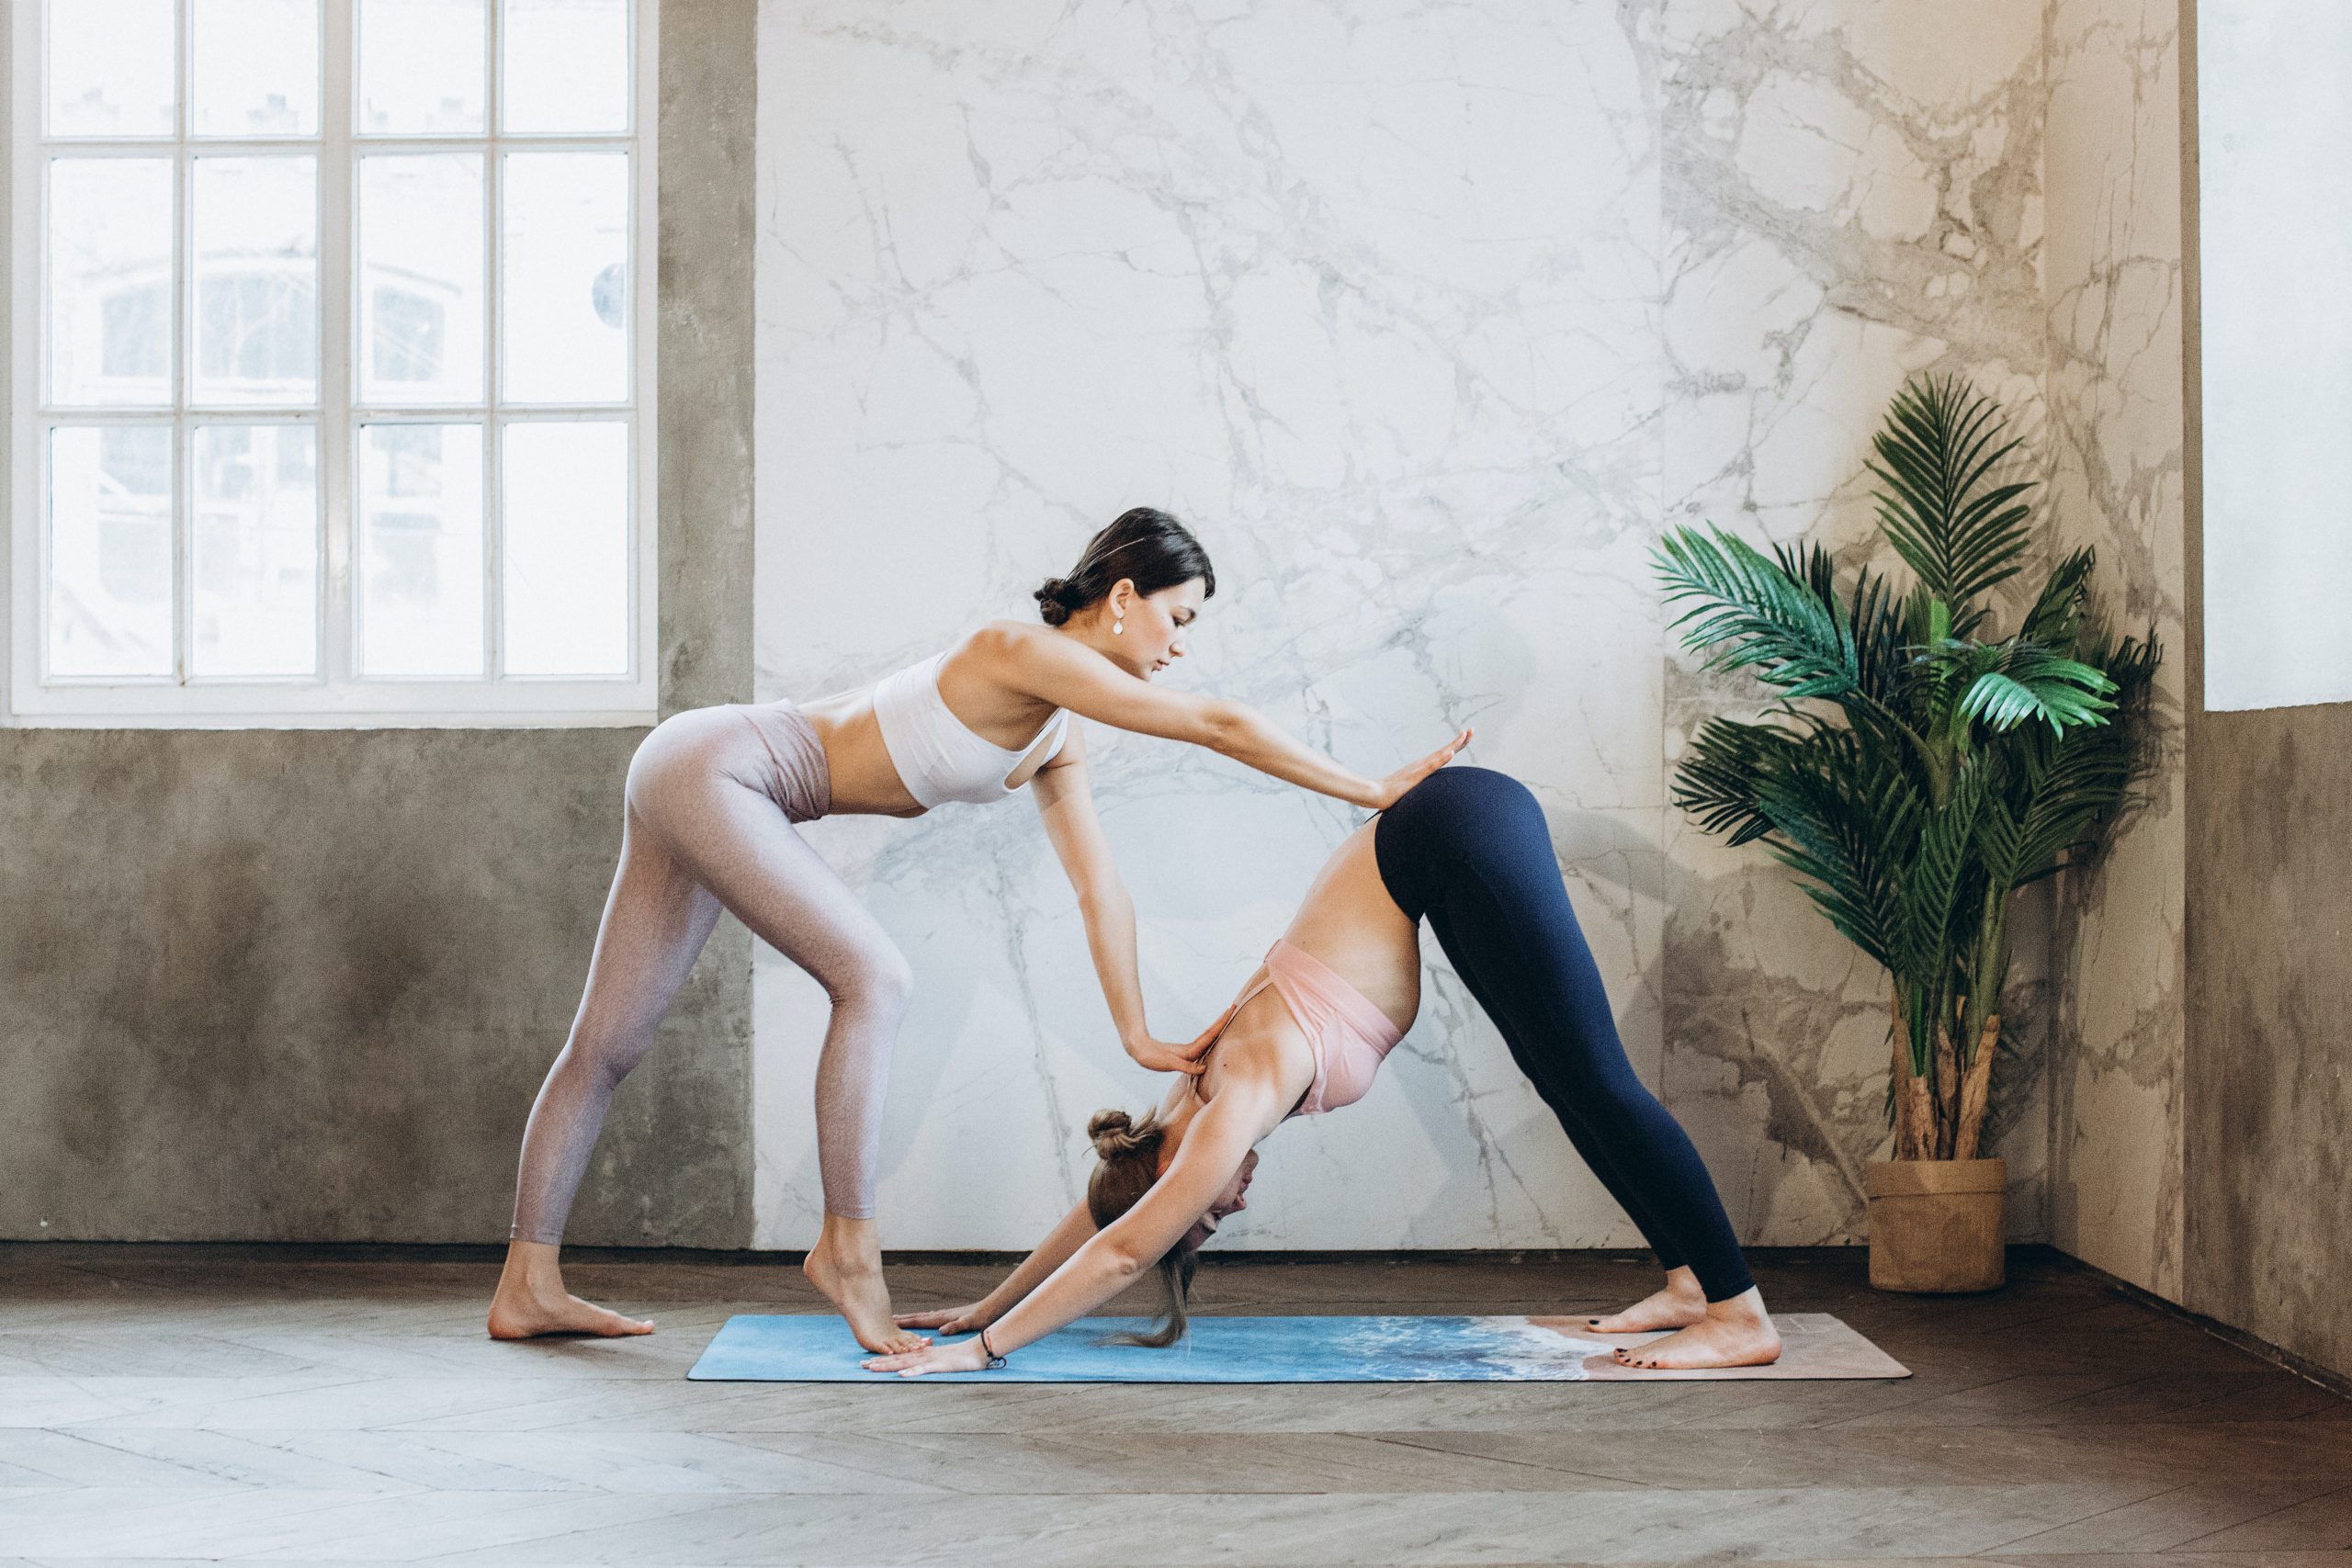
- Begin by entering into Tabletop Pose, propping yourself up on hands and knees. Ensure that your hands are stacked under your shoulders, and that your knees are stacked under your hips.
- Tuck your toes in, and begin shifting your weight onto the palms of your hands. Then, on your next exhalation, lift your knees off the mat. From here, lift your hips up higher, as though they are attempting to reach for the ceiling. As you adjust into this position, you may maintain a slight bend to your knees.
- Once you have settled into Downward-Facing Dog, you may attempt to straighten your knees out. However, if you find this challenging, you can revert back to bending your legs slightly, as straightened legs are not a requirement for this pose. I often like to bounce and pedal both feet when entering my first Downward Dog of the day; it’s a great way to warm up into this pose, and never fails to give my hamstrings a good stretch.
- At this point, your body should resemble a triangular slope. You may remain in this pose for a minute or two; base your duration time on how comfortable you feel. When you are ready to release, slowly bend your knees and return down to the mat.
Cat/Cow Pose
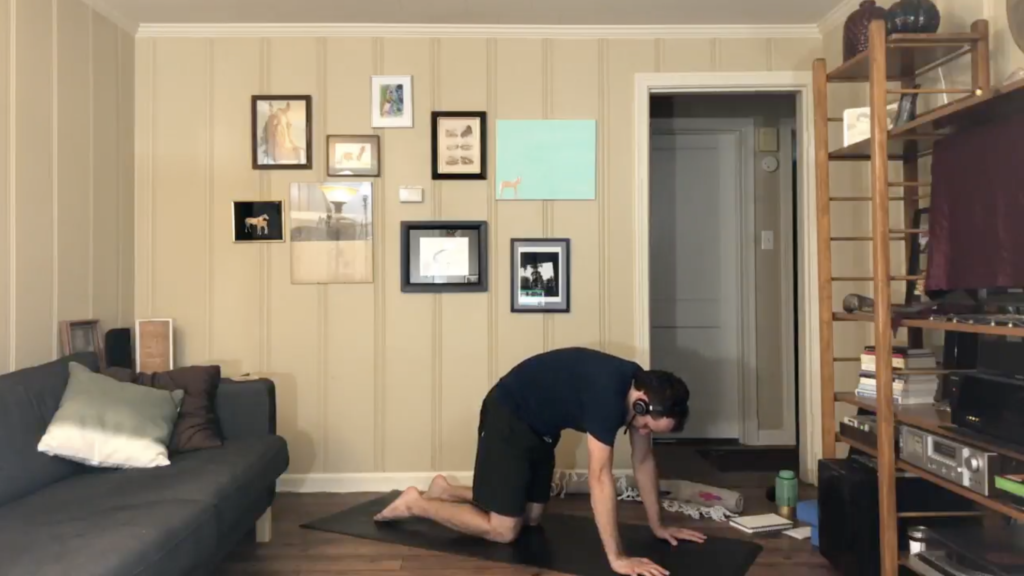
Cat Pose demonstration 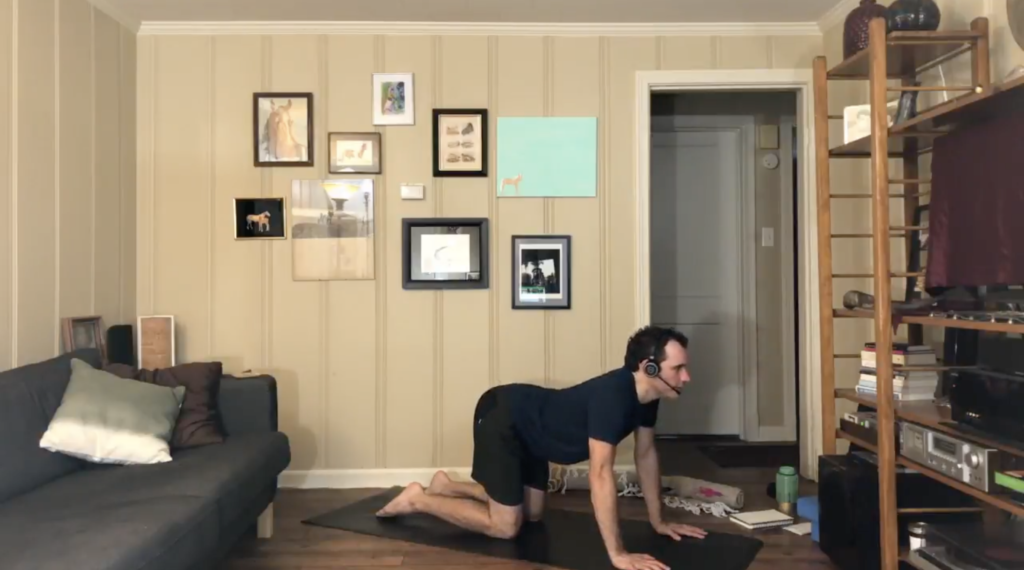
Cow Pose demonstration
- Come down to your mat and enter Tabletop Pose (ensuring that your hands are stacked directly under your shoulders, and that both knees are aligned and stacked under your hips) . Allow your head to rest at a neutral position as you direct your eye gaze to the ground.
- Initiate Cow Pose by drawing your belly towards the ground, which will in turn require you to arch your back. Lift your chin up as you gaze towards the direction of the ceiling.
- To transition into Cat pose from Cow, let out a deep exhalation as you arch your back in the opposite direction towards the ceiling. Draw your belly in as though you’ve taken a punch to the gut. Your head should now be facing the ground. Try to tuck your chin in towards your chest. If you feel any tension or discomfort, slowly release into a neutral Tabletop position.
- As you inhale, return to Cow Pose. On your next exhalation, revert back to Cat Pose. You can continue this for as many sets as you’d like!
Half Lord of the Fishes Pose (aka Seated Spinal Twist)
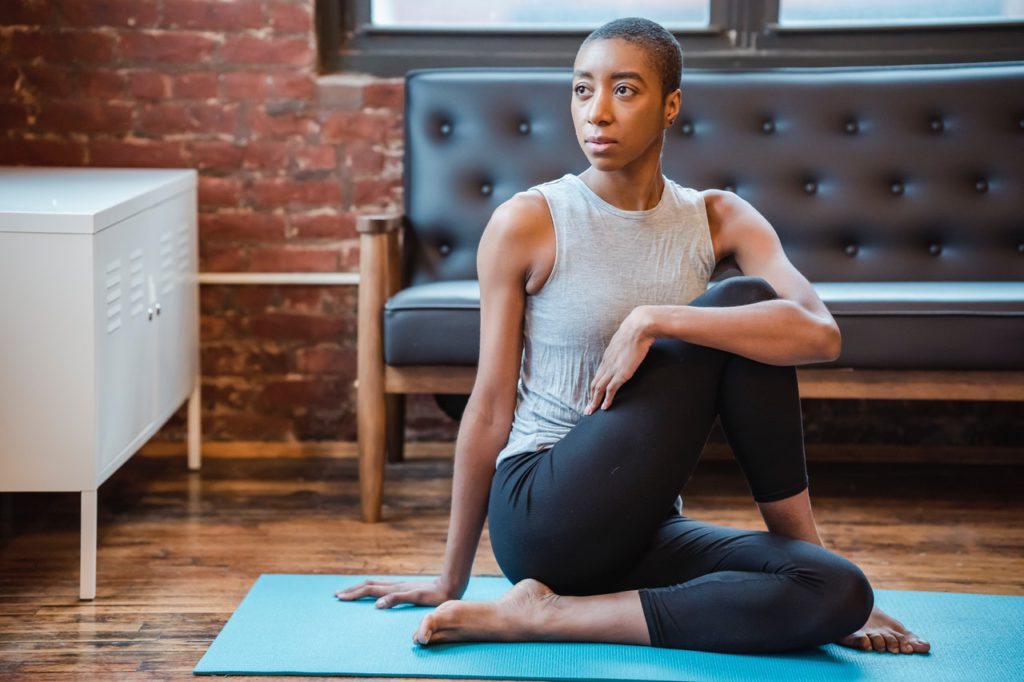
- Begin by coming down to your mat in a seated position, with both legs straightened and splayed out in front of you. Bend your right knee and cross it over your straightened left leg. You may place your right foot beside your left thigh or knee. Once your right leg is crossed over, you can bend your left knee and wrap it around your right side. You can position your left foot near your right buttock.
- Place your right palm behind you; you will be using your right arm to help you remain upright and steadied. Straighten your left arm and reach for the ceiling with it. Then, twist your torso towards the right and hook your left elbow around your bent right knee. You should feel a nice spinal stretch with this step.
- Continue to breathe through this pose, rotating your upper body further towards the right with each exhalation. Make sure that your spine is straight and that your hips are evenly squared.
- Remain in this pose for a few breaths. When you are ready to release, begin by unhooking your left arm, then proceed to untwist your legs. Once you’ve returned to your initial position, you can repeat this pose on the other side.
When dishing out advice to combat specific conditions, it’s always important to express the fact that chronic pain comes in many shapes and sizes, and can occur for a variety of reasons. Some people suffer from chronic back pain as a result of poor posture, while for others, it is the result of a sports injury or a deeper underlying medical condition. These are all factors that need to be assessed before proceeding with certain yoga poses and stretches. While our goal is to provide relief and help people feel good about their bodies, we want to achieve this as safely as possible! For those who are suffering from severe and long-term back pain (particularly in the form of spinal fractures or herniated discs), we urge that you consult with your doctor before engaging in any new physical activities. We want everyone to feel their very best, and this starts with being kind to your body, listening to it when you are in pain or discomfort, and practicing safety. For more on a healthy back, we recommend checking out MixPose’s targeted class schedule or trying a personalized session with one of our instructors! Our daily yoga classes are led by skilled instructors, all of whom can help you modify yoga poses to appease any existing limitations or conditions you may have. We offer live classes that specifically target issues like back pain and neck pain to help streamline your needs. We hope our resources are able to help you achieve the relief and zen that you deserve!